What is PrestaShop?
As one of the most popular ecommerce platforms globally, PrestaShop serves as the Catalog Management System (CMS) for a vast number of online sellers and brands.
PrestaShop offers a range of resources to assist its users, including modules, tutorials, and community forums. However, as with all ecommerce platforms, it can be time and resource-consuming for businesses to list and manage their PrestaShop catalog.
By integrating a Product Information Management (PIM) platform with your PrestaShop catalog, you are able to automate your product updates and manage your catalog more efficiently. Sales Layer PIM enables businesses to save time, money, and resources on their PrestaShop catalog management by providing one single centralized dashboard from which to manage your entire catalog.
What are the different types of PrestaShop product catalog?
There are several types of PrestaShop product catalogs available to users. These include:
- A conventional online shop in which you sell your products exclusively or integrated with a multichannel or omnichannel network
- A virtual showcase for your product catalog that users can consult, but does not provide an option for direct purchase
For the latter, PrestaShop has a catalog mode in which the ‘Buy Now’ and ‘Add to Cart' functions are disabled. In order to make a purchase, users have to turn to other available channels such as in-store, telephone, or by appointment. This feature can be activated from the ‘Preferences’ menu of your PrestaShop account.
How to create an online shop in PrestaShop
Step One: Create a PrestaShop store
If you haven’t yet created a PrestaShop store, it’s quick and easy to get started.
- Register with PrestaShop
- Choose a name for your shop
- Start designing
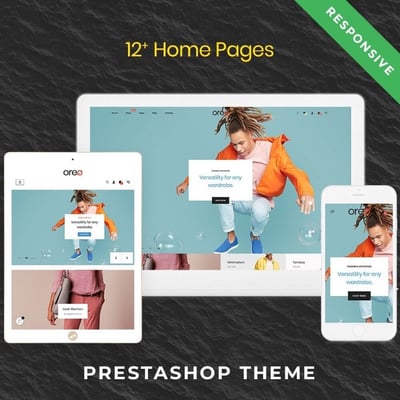
There are hundreds of free and premium templates in PrestaShops official plugin market, many of which can then be customized to fit your company branding. It’s also possible to create your own templates from scratch if you have the necessary design skills.
- Set up your plugin configurations
There are large quantities of plugins available on your PrestaShop control panel, with functions including
- Showcasing promotions and other deals
- Product gallery
- Related products
- Product zoom,
- Quick view
- Infinite scrolling
- Tiled product layout
- Image sliders
- Videos
- Search bar
- Review blocks
- Language/currency selector
- Google Maps integration
- Social networking buttons
Step Two: Prepare your product contents
PrestaShop does not have content management capabilities and as such will not organize your product catalog for you. Prior to inputting your catalog, you need to have all your product data organized, optimized, and error-free to ensure the synchronization process is simple and seamless.
Additionally, inputting information manually with PrestaShop requires the synchronization of many pieces of data, including images, SKUs, prices, dimensions, technical specifications, descriptions, and product variants. This manual process becomes increasingly complex and time-consuming if you offer your catalog in multiple languages.
Step Three: Optimize your efficiency with PIM
To ensure your PrestaShop catalog is error-free and up-to-date, automate it with a product information management platform.
A PIM is a vital solution for ecommerce businesses, from small businesses to large enterprises. PIM software facilitates the management of your product catalogs by automating the distribution of content updates. This helps drive higher conversions and improve brand reputation by ensuring all distribution channels have quality, error-free, and optimized product content.
Sales Layer PIM includes a customizable PrestaShop plug-and-play connector that can be integrated with your PrestaShop store in just a few clicks.
Sales Layer enables you to manage product content from one single centralized database, saving you time and resources when uploading, editing, and managing your PrestaShop product catalog.

Step Four: Import your product information
Once your PrestaShop template is set up and your product data is prepared, you’re ready to import.
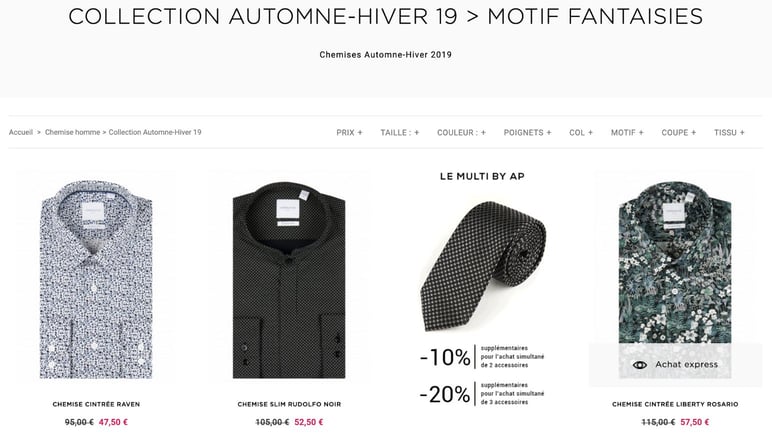
Decide on a basic structure for your catalog with categories, subcategories, and filters, then import your product data into PrestaShop through your PIM.
Without a PIM to automate the process, importing this data manually can be a massive project that can take weeks or months to complete. With PrestaShop PIM integration, product data can be uploaded in seconds.
After import, Sales Layer’s Quality Report automatically checks your product content to ensure there are no empty fields - instantly detecting missing product content, as well as generating automatic backups of your data.
With a PIM, any change or update you make to your product data will be updated in your PrestaShop store instantly. You are also able to create different versions of your catalog to cater to specific markets, languages, or geographic regions.
Step Five: Select payment methods & shipping services
PrestaShop allows for the integration of any payment method: debit card, electronic wallets such as PayPal or Apple Pay, prepayment, and/or payment in-store. The PrestaShop Checkout plugin, created in collaboration with PayPal, allows for several payment options to be integrated into a single payment gateway. Individual fees & commissions are charged on a per-sale basis for each payment method.
Alongside payment, you will need to select the company that will be responsible for shipping and return services. Linking with a PIM at this step enables you to automate this process and synchronize your stock data directly with PrestaShop.
Step Six: Improve your Digital Shelf positioning
There are four key elements to ensure your PrestaShop store is competitive on the Digital Shelf:
- Design: Have a recognizable brand image throughout, with consistent fonts and color schemes.
- Content: Optimize your product descriptions and specifications with SEO tools
- Tests: Perform A/B testing of your online catalog to ensure you are always using the best version
- Inventory: Link your inventory manager with your PrestaShop account to monitor stock levels in real-time
Conclusion
The final step is to make your PrestaShop store public. Once your store is up and running and fully automated with a PIM, you are able to think about more advanced strategies and business growth, such as:
- Multichannel or omnichannel integration
- Extended marketing plans and campaigns
- Optional migration from PrestaShop to another server, such as Shopify, Magento, or BigCommerce.
Companies such as Emuca are already using Sales Layer’s PrestaShop connector to streamline and optimize their online product content.
Get started today with a free 30-day all-access trial of Sales Layer to discover how a PIM can transform the way you use PrestaShop.